How to become a verified Brave publisher with your WordPress site
Website owners & vloggers: Take note that becoming a Brave verified publisher is a quick, easy process, that can score you some BAT cryptocurrency from your readers/viewers. If you haven’t heard of Brave yet, check out my previous post – Brave browser review: privacy focused with a crypto twist.
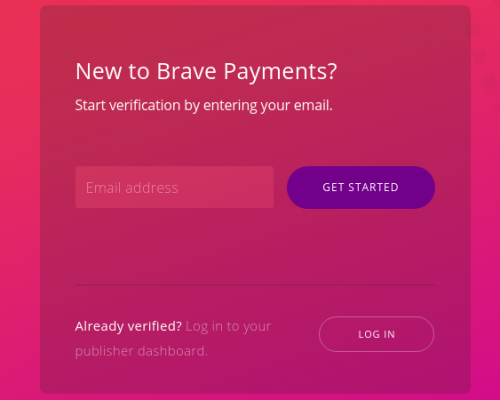
To start the Brave publisher verification process, visit https://publishers.basicattentiontoken.org , enter your email address and click “Get started”.
On the Brave Payments platform, there are verified and non-verified publishers. It behooves publishers to become Brave verified as the Brave Payments configuration inside the Brave browser has an option to exclude non-verified publishers.
Non-verified publishers can still receive contributions from Brave browser users, but they will be held in escrow by Brave for 1 year or until the publisher becomes verified. If a publisher hasn’t claimed their funds within a year of Brave holding them in escrow, Brave keeps the funds. Verification involves signing up with Brave Payments and Uphold, a cryptocurrency exchange.
Starting the Brave Publisher verification process
After confirming your email, you’ll be taken to the publisher type page.

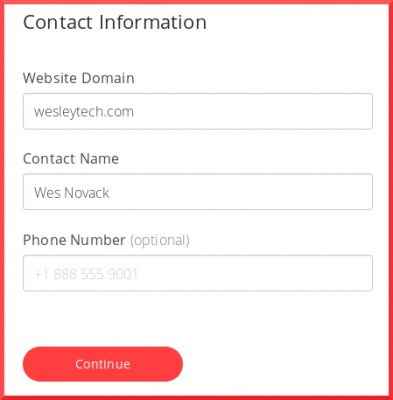
For a website (WordPress or otherwise), you’d click the SITE OPERATOR box on the left. For a YouTuber, you’d select the INDIVIDUAL CREATOR box on the right. For a website, you’ll then be taken to a Contact Information page to input your domain, your name, and optionally, your phone number.
HTTPS is required for Brave verified publishers
After clicking continue, Brave will do an HTTPS check on your website. If you do not have an SSL certificate with HTTPS enabled, you will not be able to continue and become a Brave verified publisher. You’ll have to take care of enabling HTTPS on your site and then come back to verify as a Brave publisher at a later time.
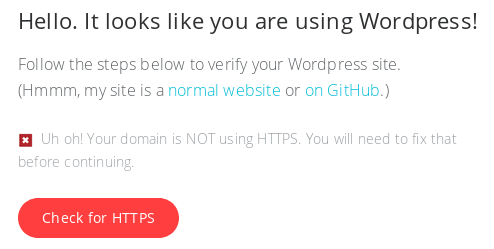
I applaud Brave for doing their part to help make the web a more secure ecosystem. In 2018, with free SSL certificates available from LetsEncrypt, there’s no reason that a site should not be HTTPS enabled.
Install the well-known-uris WordPress plugin
After you have HTTPS enabled on your site, Brave recommends that you install the WordPress plugin well-known-uris in order to verify your site. The easiest way to install this is to go to yourdomain.com/wp-admin/plugins.php , click the ‘Add New’ button at the top left of the page, and search for “well-known-uris”. Install the plugin by mrose17 by clicking on the “Install Now” button.
Once you have the plugin installed, go to “Settings – Well Known URIs” in your WordPress Admin UI to add a page.
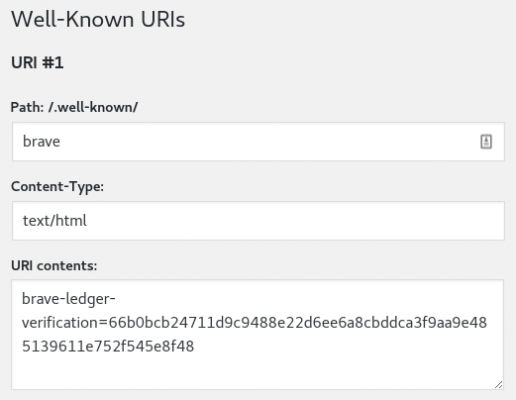
Enter a path (like “brave”), “text/html” for Content-Type, and then paste your brave-ledger-verification string in the URI contents box and click the Save Changes button.
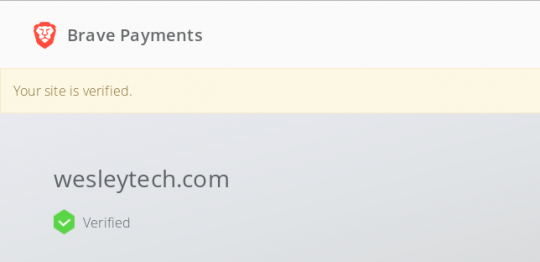
You should then be able to click “verify” on the Brave Payments publisher page and viola, your site is verified! After that, Brave will instruct you to create an Uphold account, if you don’t already have one. You’ll then authorize Brave as a third party app in Uphold. Once that is complete, you will then be a Brave verified publisher. Congrats, and may the BAT cryptocurrency flow to you!